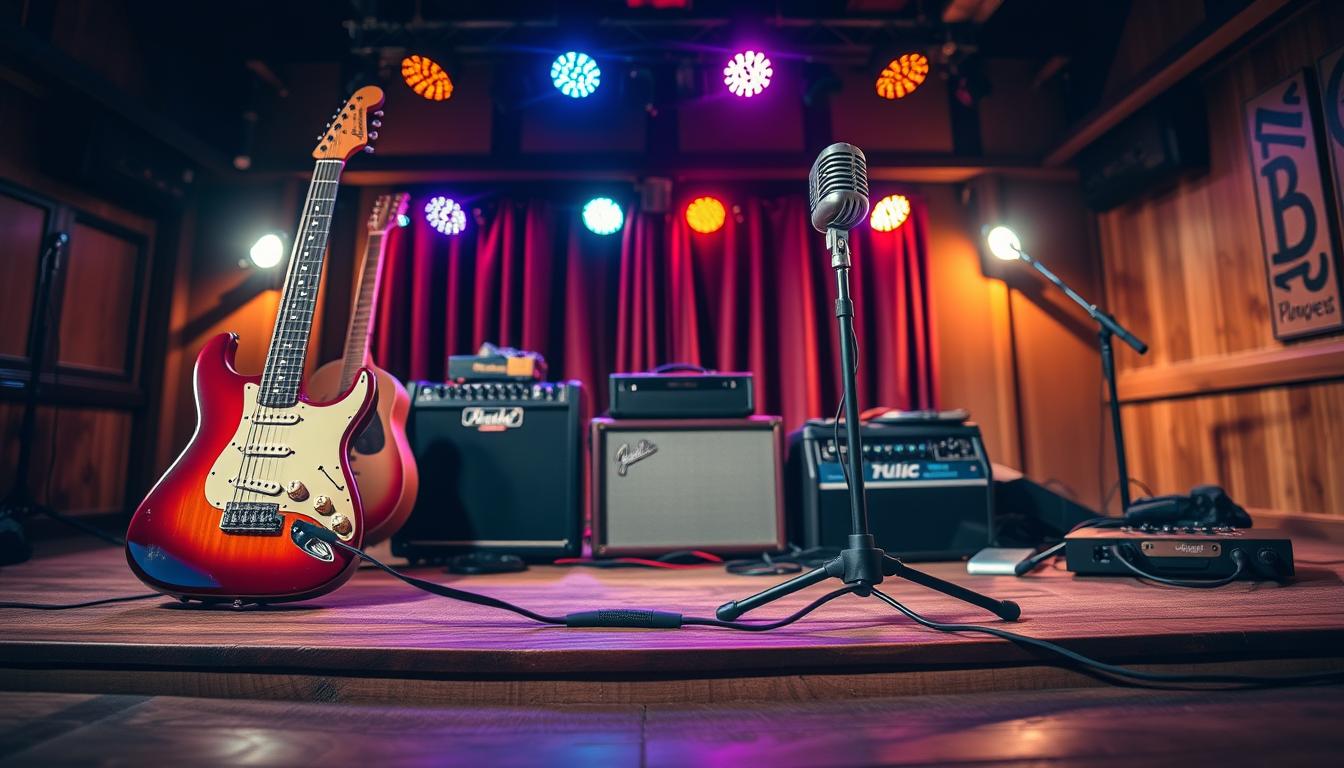
Building a gigging setup is like a big strategy meeting. Every piece of gear is important, like officials in a cabinet. The guitar is like the Secretary of State, handling sound and style. The pedalboard is like the press secretary, making the sound interesting.
East Bay Ray from the Dead Kennedys chose a Schecter S-1 over vintage Fenders for tours. He prefers something reliable over something delicate. This way, his performance stays strong, without worrying about damage.
Cody Bonnette of As Cities Burn uses a 1983 Fender American Standard Stratocaster for softer songs. For harder songs, he switches to a Telecaster. This shows how gear choices can change the sound of music.
We’ll look at everything, from strings to DAW templates. In indie music, your gear is your statement. We’re here to explore it all.
Core instrument choices guitars basses drums synths and reasons why
Choosing instruments is more than just picking up a guitar or a drumstick. It’s about finding a sound that matches your musical identity. For many indie musicians, the guitar rig is key. East Bay Ray, for example, loves his Schecter S-1 with Seymour Duncan SH-1 ’59 and SH-4 JB humbuckers. This combo gives him a unique sound that blends classic rock with modern touches.
Cody Bonnette plays a 2004 Fender American Standard Telecaster with a Seymour Duncan Five-Two neck pickup. This setup helps him tackle EQ issues, making his tone sharp and clear. The 1979 Peavey T-60 is another example. It’s a versatile bass that can switch phases, creating a wide range of sounds. Despite its low price, it’s a powerful tool for musicians.
Why do we carry these heavy instruments? It’s not just for the love of music. It’s about the psychology of sound. Each instrument lets us express ourselves, blending physics with emotional depth. The Fender scale length, for instance, offers clear tones but needs a hotter humbucker to really stand out.
Drummers are like the Speakers of the House, controlling the performance’s tempo and energy. The right drum gear is essential, setting the stage for the band. Every drum piece adds to the overall story.
| Instrument | Key Features | Artist | Sound Characteristics |
|---|---|---|---|
| Schecter S-1 | Humbuckers, Doublecut Body | East Bay Ray | Twanging, Fat |
| Fender American Standard Telecaster | Five-Two Neck Pickup | Cody Bonnette | Sharp, Clear |
| Peavey T-60 | Phase Switching, Coil Splitting | Cody Bonnette | Versatile, Dynamic |
Our instrument choices mix physics and psychology. Each piece shapes our sound and tells our story. This complex mix defines indie music.
Pedalboard signal chain gain staging noise management and power
Building the perfect pedalboard is a delicate art. It’s a mix of chaos and control, with each pedal playing its part. The magic happens in the signal chain, where the *intellectual dishonesty of rock and roll* comes alive. Here, we can break traditional engineering rules to create something uniquely musical.
East Bay Ray’s setup is a great example. He puts a Line 6 DL4 delay pedal before his amp. He calls this “bad engineering,” but it works. The echoes get cleaner as they pass through the amp, showing how bending rules can lead to *more musical outcomes*.
Cody Bonnette takes a different approach. His stereo board uses an ISP Decimator II as a noise gate. This keeps unwanted sounds out. With a Radial BigShot ABY for his dual-amp setup, Bonnette shows how strategic noise management can enhance a performance.
Gain staging is also key. Even the most unique pedals can be ruined by a bad power supply. Proper gain staging can turn a chaotic setup into a well-oiled machine.
The pedalboard is more than just effects; it’s a musician’s soul. Each pedal has its own story, adding to the overall sound. Whether it’s East Bay Ray’s *rebellious creativity* or Cody Bonnette’s *meticulous control*, the journey through the pedalboard is as vital as the music itself.
Keys and synth rigs controllers soft synths analog polys workflow
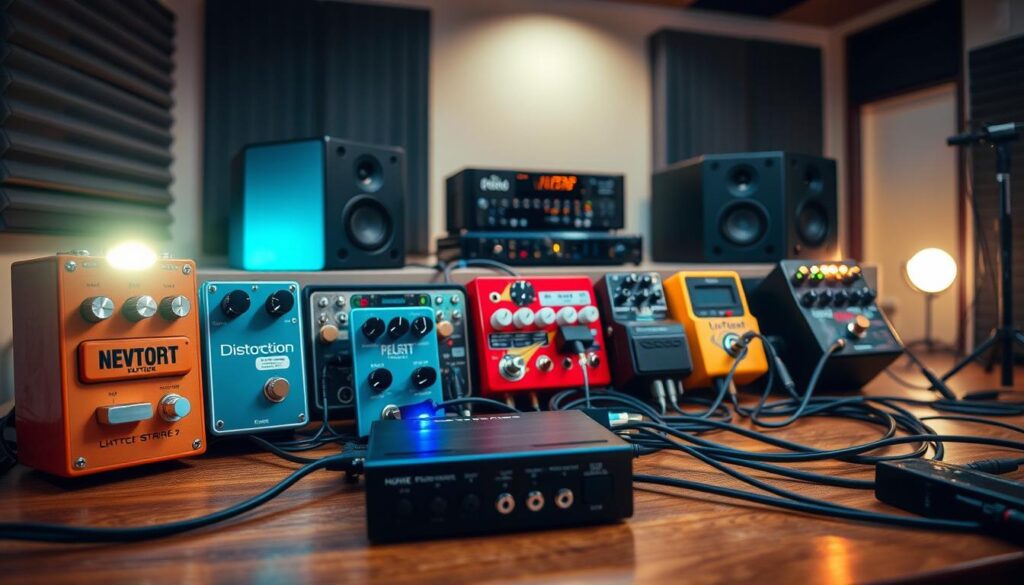
In indie music, the debate is fierce: analog warmth versus digital efficiency. The synth setup is more than just sounds; it’s a battle of philosophy. On one side, analog synth fans love their polyphonic synths for their rich, warm tones. On the other, MIDI controllers and soft synths promise efficiency and ease.
Analog polyphonic synths offer a deep, warm sound that fills a room. But they’re pricey and heavy, like a small Eastern Bloc car. In contrast, MIDI controllers are lighter and more portable, perfect for live shows or studios.
Workflow is key. Do you scroll through Arturia presets or twist Moog knobs? The best approach is a mix of both. A controller like the Novation SL MKIII connects analog and digital parts smoothly.
This mix of analog and digital makes your synth rig unique and powerful. It turns code into something real, moving your audience. The goal is to create a sound that’s not just unique but also deeply impactful.
Vocal chain mics preamps comps live vs studio settings
The microphone is a key player in the vocal chain. It’s like choosing the right ambassador for your voice. In studios, we often use large-diaphragm condensers with tube preamps. These tools make your voice sound as rich as a double shot of espresso.
But live performances are different. You need a dynamic mic that can handle loud sounds. The Shure SM58 is a popular choice for its reliability. For better clarity, the Telefunken M80 is a great option.
Compression is also important. In live settings, it’s about finding the right balance. It’s like mastering the art of a firm handshake. The goal is to keep the performance intimate, even with a large audience.
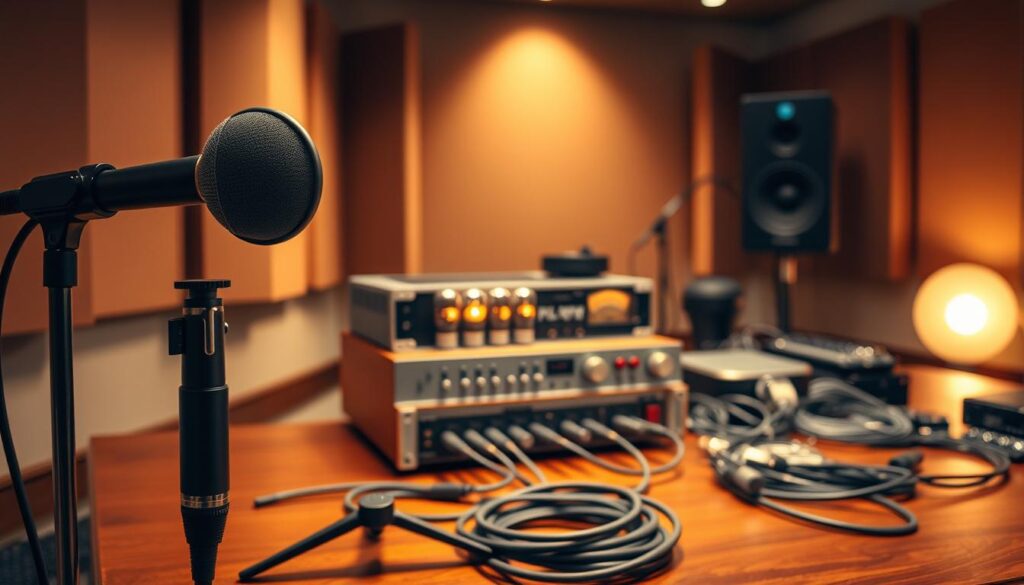
Understanding your vocal chain is essential, whether you’re recording or performing live. It’s about finding the right balance for clear and emotional sound.
Monitoring IEM vs wedges click pros and cons
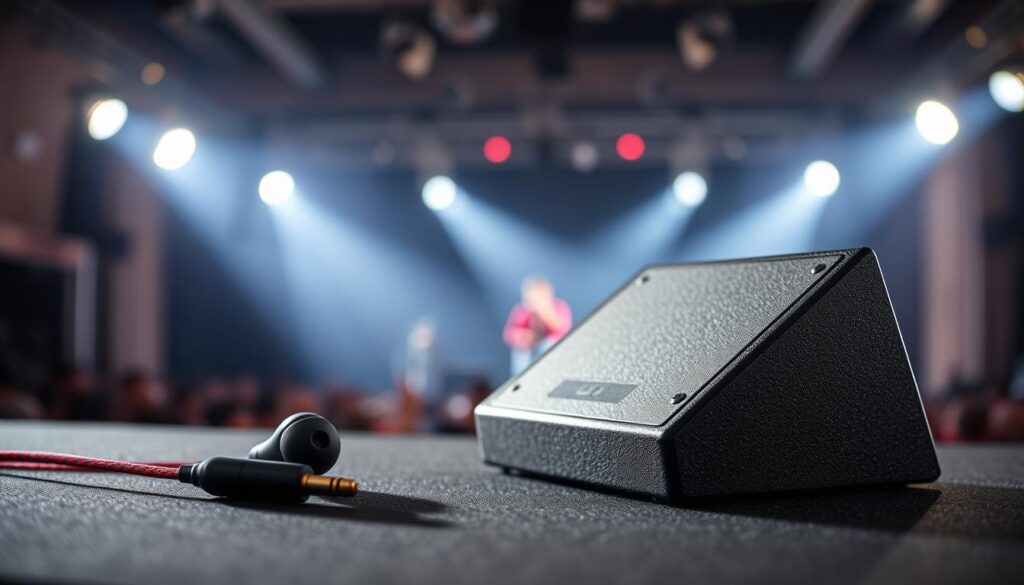
The choice between in-ear monitors (IEMs) and floor wedges for stage monitoring is more than just a technical decision. It’s a philosophical one. Imagine the vibrant energy of a town hall meeting versus the sterile atmosphere of a series of private Zoom calls. That’s the essence of this debate.
Wedges are the traditionalists of the stage. They provide a communal sound experience, allowing musicians to feel the room’s energy. But, this comes with a downside: the sound can often bleed into the audience, creating a muddled mix. This is akin to a shared potluck dinner where everyone contributes, but not every dish is a winner.
On the flip side, in-ear monitors offer a pristine, isolated audio feed directly into your ears. This allows for precise control over what you hear, including the ability to pan the click track hard left. This ensures that the audience remains blissfully unaware of your metronomic ticking. It’s like having a personal chef who knows exactly how you like your meals prepared—no surprises, just perfection.
But, the cultural implications of choosing IEMs cannot be ignored. While they protect your hearing and deliver a crystal-clear mix, they also create a barrier between you and the audience. It’s a postmodern crisis of sorts: you’re performing a live show while listening to a recorded version of it. The visceral interaction with the crowd diminishes, and you may find yourself feeling isolated.
To summarize, here are the pros and cons of each option:
- In-Ear Monitors (IEMs):
- Pros: Protects hearing, pristine audio quality, and isolated mixes.
- Cons: Less interaction with the audience, can feel isolating.
- Wedges:
- Pros: Communal sound experience, enhances audience connection.
- Cons: Muddled audio, potentially harmful to hearing.
DAW templates track counts buses color coding and recall
Your DAW session can be either chaotic or perfectly organized. Let’s aim for the latter. A well-organized session is essential for indie musicians. It’s like a legislative chamber for your music, where every detail matters.
Color coding your tracks is not just for looks. It’s a must. Use red for drums, dark blue for bass, green for guitars, and yellow for vocals. This isn’t just for fun; it’s necessary for clarity.
DAW templates are your saviors from blank screen paralysis. They save you time by having everything set up. Building a template means you’re ready for inspiration when it strikes.
Recall is key. If you can’t quickly understand a session from years ago, you’ve failed. Analog summing through buses helps mix tracks together smoothly. It’s like finding common ground in a committee.
| Element | Description | Importance |
|---|---|---|
| DAW Templates | Pre-configured sessions for quick setup | Increases efficiency and creativity |
| Track Counts | Number of tracks needed for a session | Ensures all elements are captured |
| Buses | Group tracks for collective processing | Enhances mixing cohesion |
| Color Coding | Visual organization of tracks | Improves workflow and reduces confusion |
| Recall | Ability to understand past sessions | Facilitates continuity in projects |
Backline for fly dates rental equivalents and must carry items
Choosing the right backline for fly dates is key for indie musicians. It’s not just about the gear; it’s about survival. You can’t take your favorite ’65 blackface Bassman on a plane. So, you need a pragmatic list of what you need from the rental company.
East Bay Ray learned the importance of the right gear, like dealing with different power grids. His vintage Maestro Echoplex, once a Dead Kennedys’ secret, didn’t work in Europe’s 50 Hz power cycle. It sounded drunk instead of the slapback he loved. He solved this by using a Line 6 DL4, a digital version that worked everywhere.
When flying, you might have to swap your vintage gear for rented equipment. The audience wants the sound, not your vintage tubes. It’s a deal between what you want and what the TSA allows.
So, what should you take with you? Here’s a quick guide:
| Item | Importance | Rental Equivalent |
|---|---|---|
| Pedalboard | Essential for sound | Check local rentals |
| IEM Molds | Personalized fit | N/A |
| Specific Snare Drum | Unique tone | Rented options vary |
In conclusion, fly dates test your gear loyalty. By knowing what to carry and the rental options, you can keep your performance great, no matter where you go.
Budget tiers entry mid pro and value picks with alternatives
In the world of music gear, class distinctions blur as value picks shine. You don’t need to spend a fortune to find quality instruments. Let’s break it down into three tiers: entry-level, mid-range, and pro gear.
First, we have the entry-level gear. Take the Squier Classic Vibe, for instance. It can outplay many vintage guitars from the 70s with a decent setup. This isn’t just a cheap alternative; it’s a playable instrument that challenges the status quo. The entry-level proletariat is no longer stuck with subpar options.
Next, we venture into the mid-range bourgeoisie. Here, you’ll find gems like the Fender Player Series or Reverend guitars. These instruments provide professional-grade hardware without the hefty price tag. It’s the sweet spot for musicians who want quality without the nitrocellulose lacquer tax.
Now, let’s talk about the anomalies that disrupt the entire economic model: the value picks. The Peavey T-60, for example, is a guitar built in Mississippi. It features a phase switch and coil-splitting capabilities, rivaling those of a $3,000 boutique build. Cody Bonnette’s T-60 isn’t just a backup; it’s a strategic asset. You can often find it lurking in pawn shops for the price of a nice dinner.
When building a rig on a budget, remember that the brand name on the headstock isn’t everything. Focus on the speaker in the cabinet and the pickups in the guitar. Everything else is just a conversation piece. In the end, the gap between high-end and budget gear has never been narrower.
Soundcheck checklist printable for fans to try
The soundcheck is a moment of calm before the excitement starts. It’s where order meets chaos. I’ve made a checklist to help make this time more organized. It’s not just about making noise; it’s about creating music.
Begin with a line check. Make sure every instrument is working right. Just one clear note is enough for now. Then, focus on gain staging. Unity gain is key; it’s like the audio rulebook.
After setting levels, work on the monitor mix. Start with the vocals. If the singer can’t hear themselves, it’s not music. Then, play the loudest part of the song. This is a test for your sound.
End with a walk-through of the room. The mix at the soundboard must sound good everywhere. This checklist is a promise to your audience for a great sound. A downloadable PDF is available for fans to try soundchecks. Who knows? They might discover their sound engineering skills.